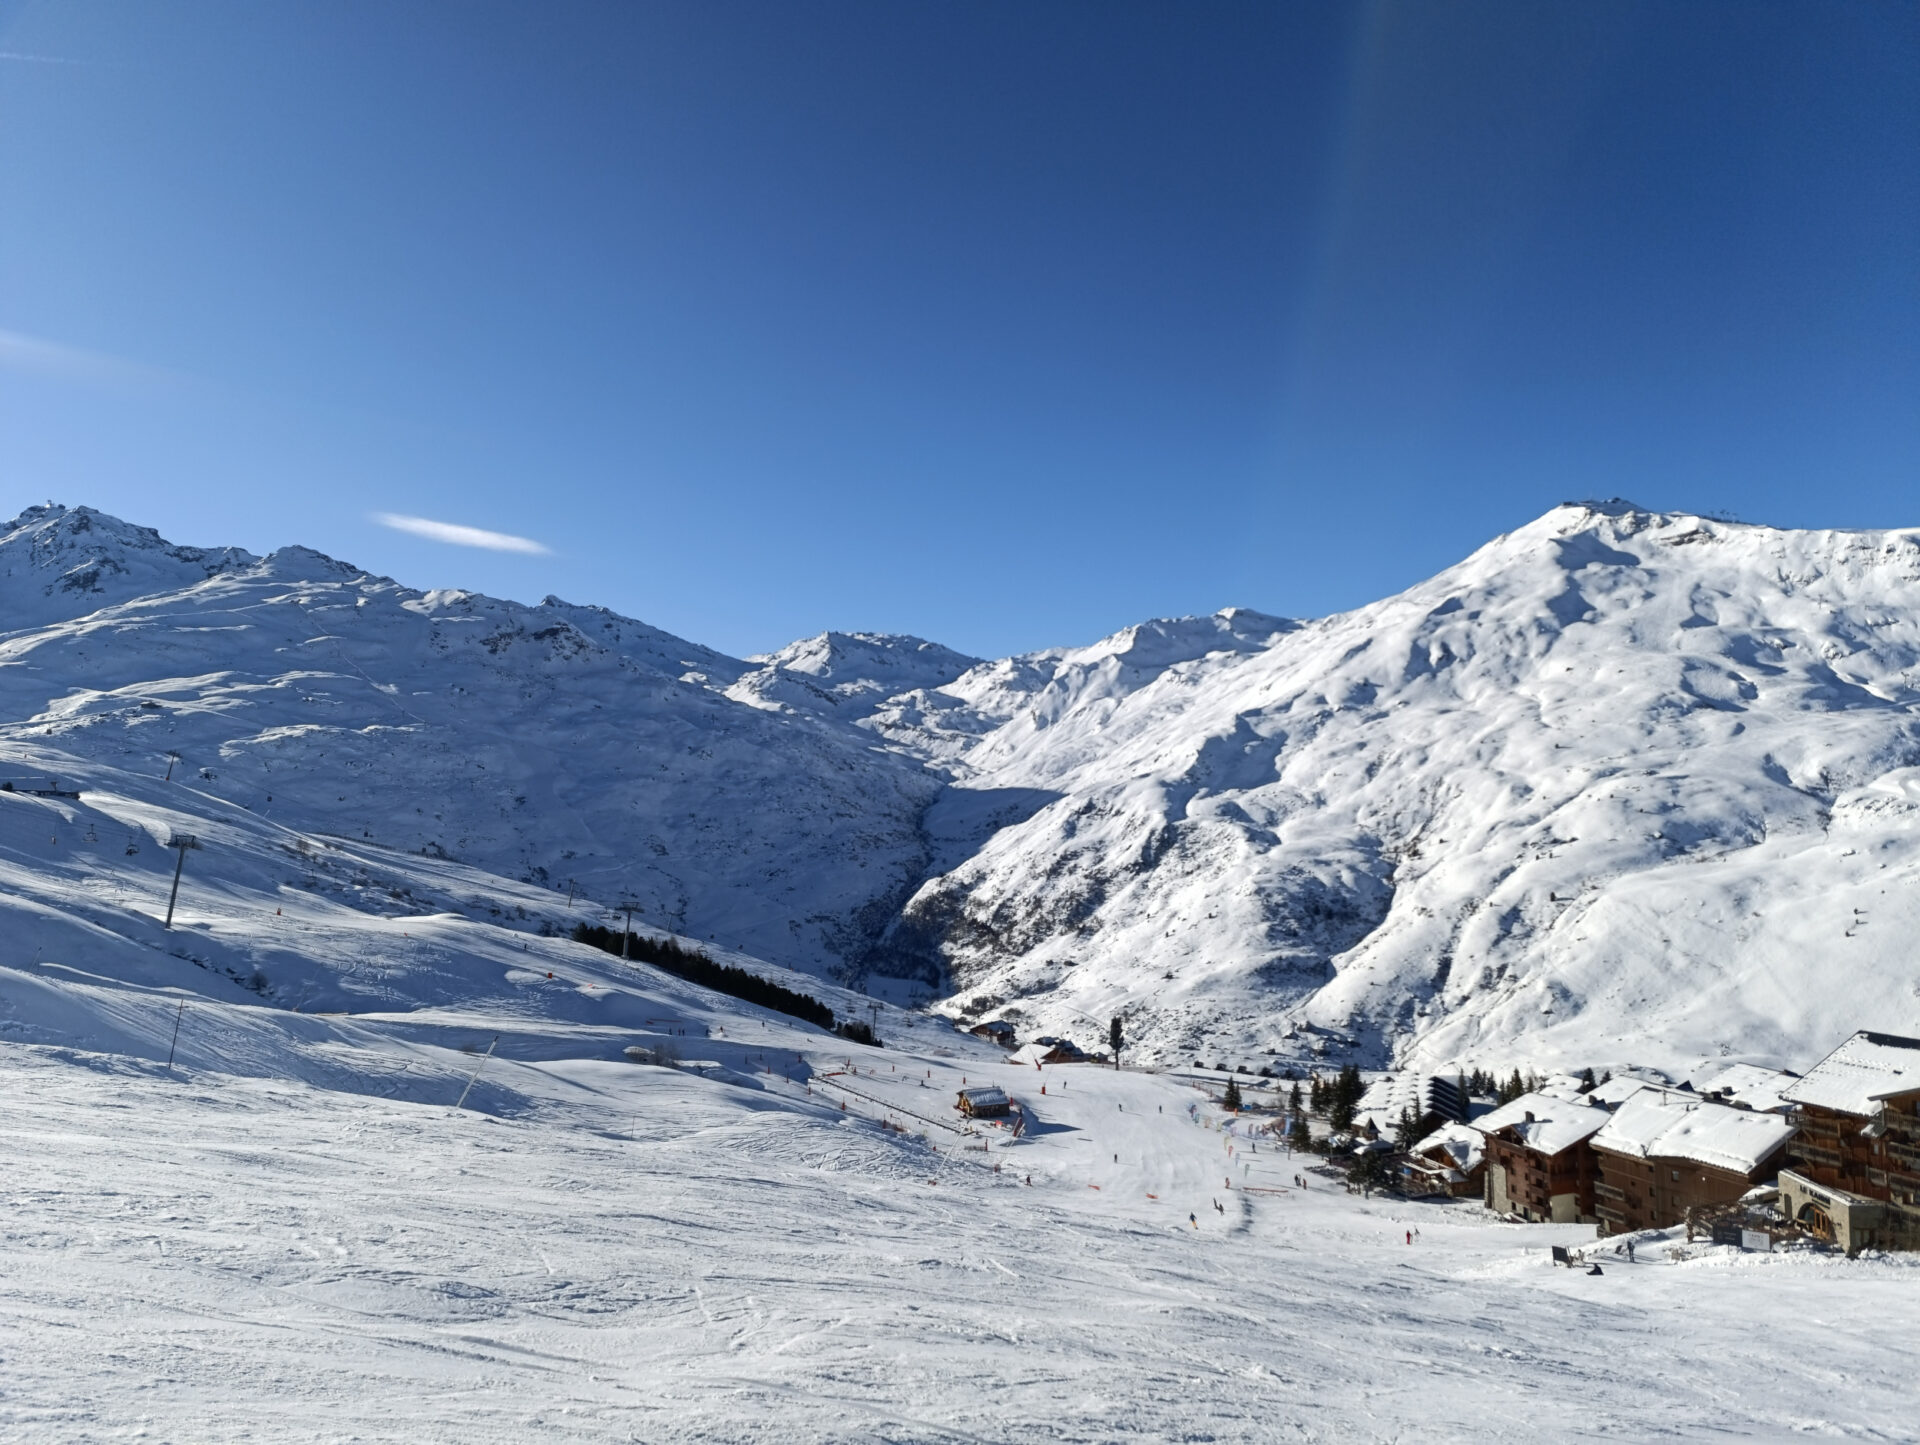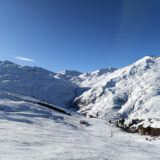
Planning daily ski routes requires realistic distance estimates, lift connections, and time management. In this guide, you’ll learn how to use OsmAnd to create ski routes and export them to Garmin devices for navigation.
- What Is OsmAnd and Why Use It for Ski Planning
- Free vs Paid Version of OsmAnd
- How to Install OsmAnd and the Ski Map Plugin
- How to Download Ski Maps (Example: French Alps)
- Step-by-Step: How to Plan a Ski Route in OsmAnd
- How to Save and Manage Your Ski Track
- How to Share a Track from OsmAnd
- How to Import an OsmAnd Track into Garmin
- Final Thoughts: Using OsmAnd with Garmin for Ski Trips
What Is OsmAnd and Why Use It for Ski Planning
OsmAnd is an application for organizing activities, including ski routes. If you are an active skier, this application will be of great use. This application can be used on Android and iOS (Apple iPhone/iPad) operating systems.
Free vs Paid Version of OsmAnd
The OsmAnd application provides more options for planning activities and viewing planned routes. I want to emphasize that there is a free and a paid version. The free version is good for planning routes for a week of skiing. The application is open-source and supported for Android and iOS systems.
With the free version of OsmAnd, you can:
- Use offline navigation
- Download up to 7 maps
- Create routes with elevation and slope overview
- Track previously created routes
- Customize maps to display detailed planning information
With the paid version (OsmAnd Pro), you also get:
- Unlimited map downloads
- Android Auto support
- Offline travel guides
- Weather and vehicle data plugins
- Monthly map updates
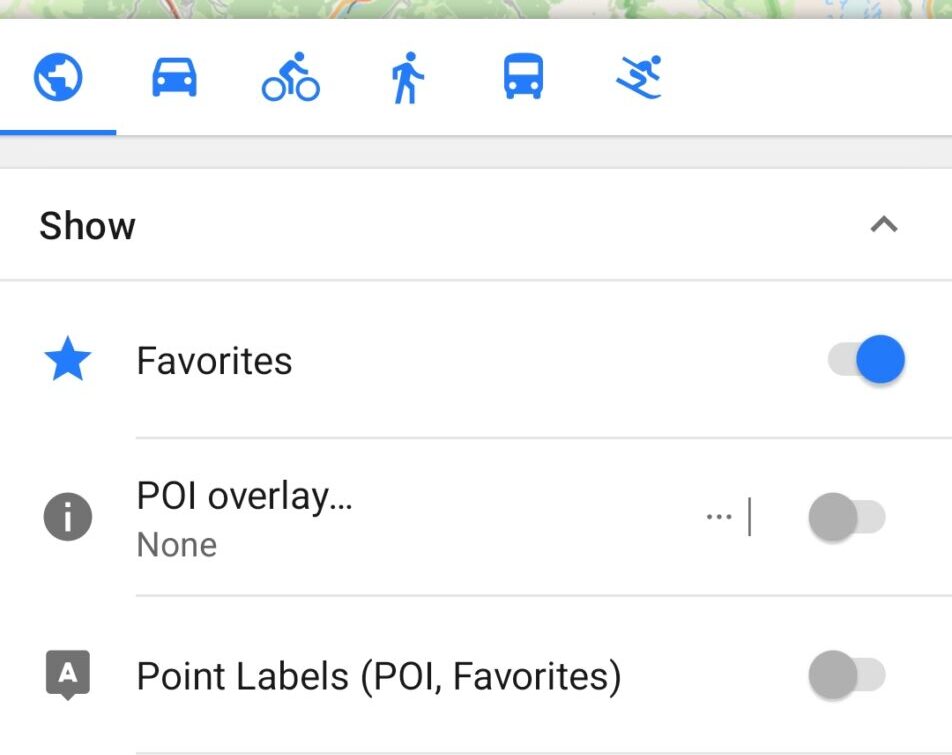
The application primarily has options for displaying tourist maps, offline maps, and topographic maps. Depending on which profile you choose in the upper left corner of the application, that type of map will be displayed. Map profiles are available for driving, cycling, sand, transportation, and skiing.
How to Install OsmAnd and the Ski Map Plugin
You can download the OsmAnd application for the Android system from Google Play.
The Ski Map Plugin for the OsmAnd application for the Android system can also be downloaded from Google Play.
It is necessary to install both the application and the plugin in order to successfully create ski routes.
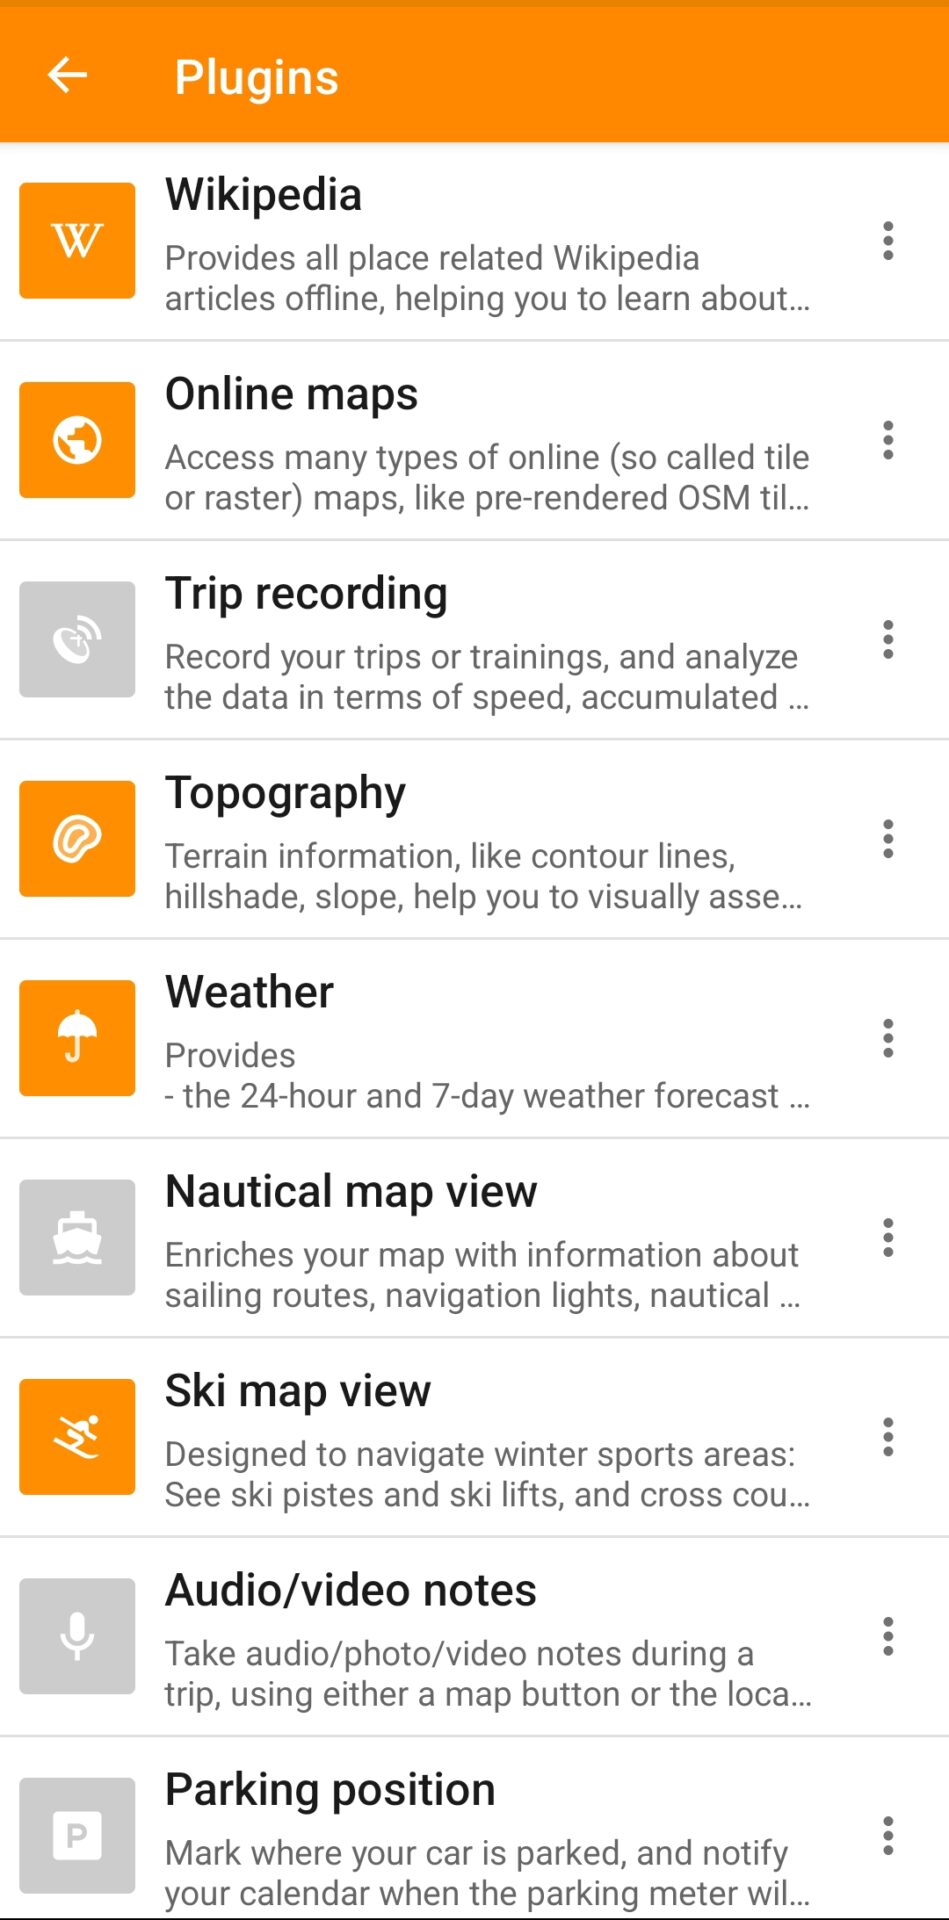
The first step is to activate the plugin. The option Ski map view (On) must be activated in the application’s Plugins section located in the main menu (three lines in the lower left corner of the application’s home screen).
You will notice that in this part of the application, you have options for activating the marking of the parked vehicle’s location and recording training and analysis.
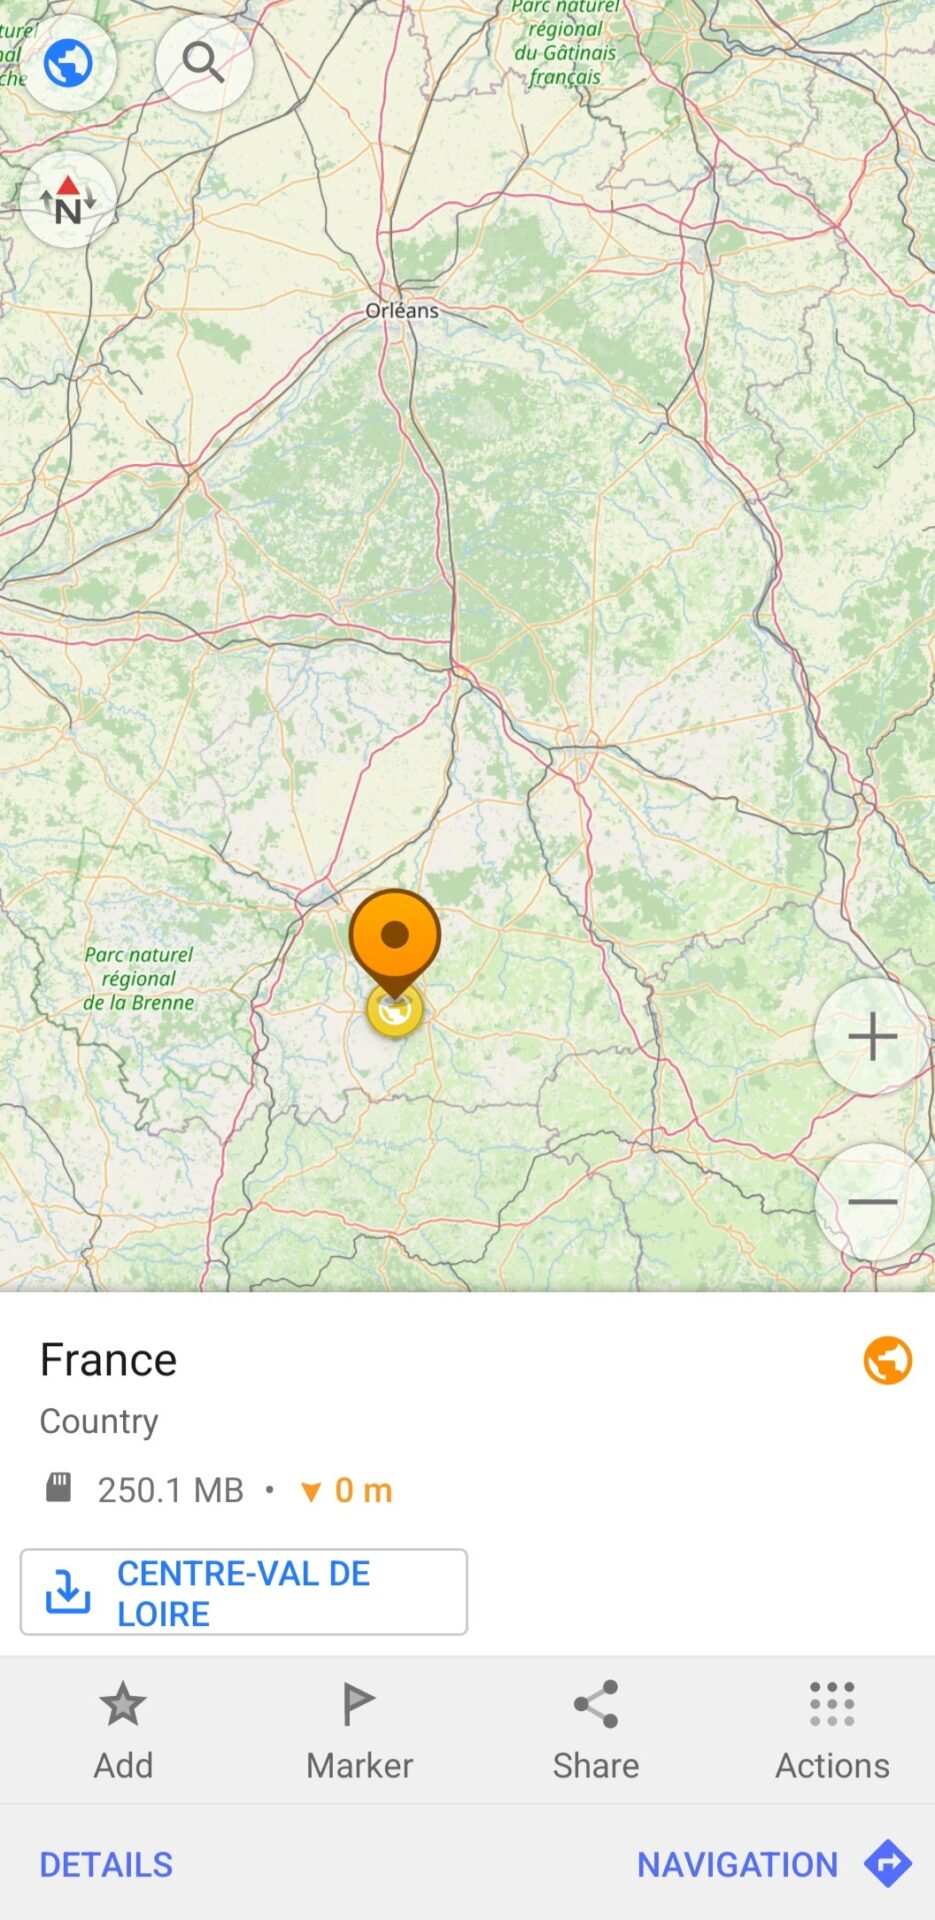
Before installing ski maps, you need to find the desired location. This is done by selecting the Search option within the application’s main menu (in the lower left corner). After you find the desired country or location, mark it with your finger and click on the Add option to save the location.
How to Download Ski Maps (Example: French Alps)
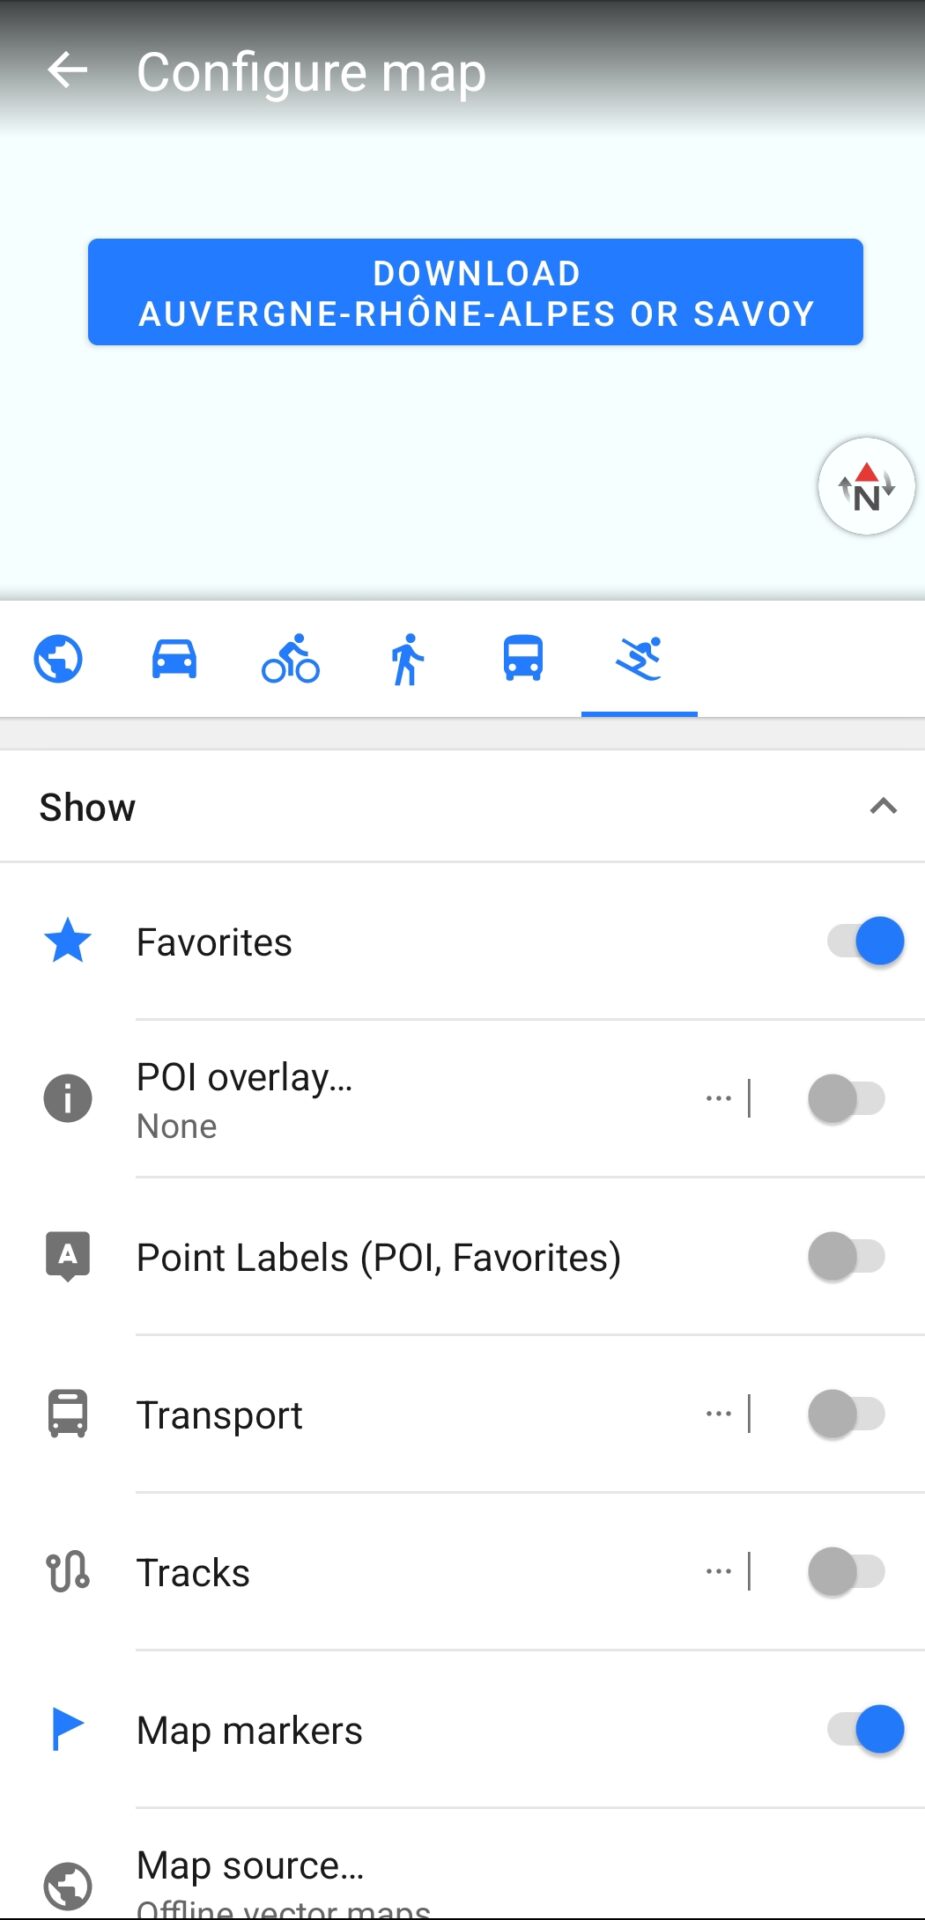
The next step is to download the ski maps of the ski centers. To do this, click on the globe in the upper-left corner of the application and select the skis symbol. The option to download the ski map for the ski centers will then appear at the top. In this example, a ski map of the French Alps is downloaded.
Step-by-Step: How to Plan a Ski Route in OsmAnd
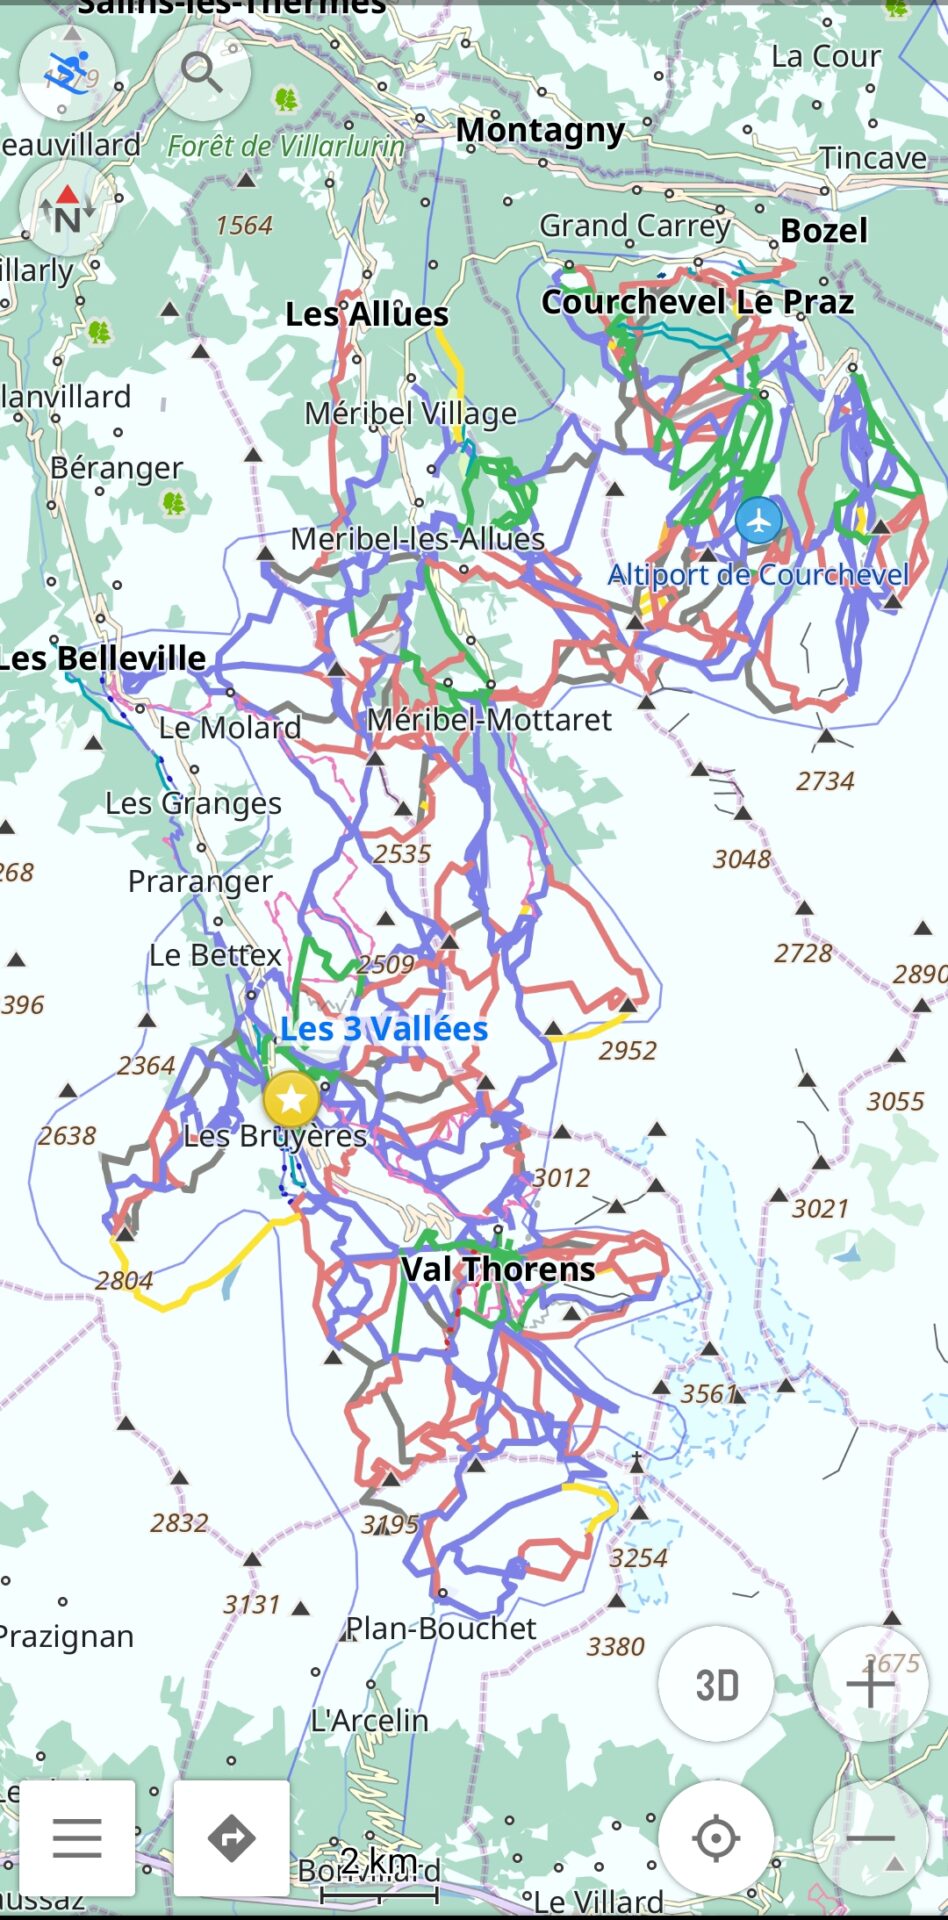
Before creating a ski route, it is important to select a profile with the ski slope symbol. This will display a map of the ski center and its cable cars. Then, you can create your desired ski routes based on this map.
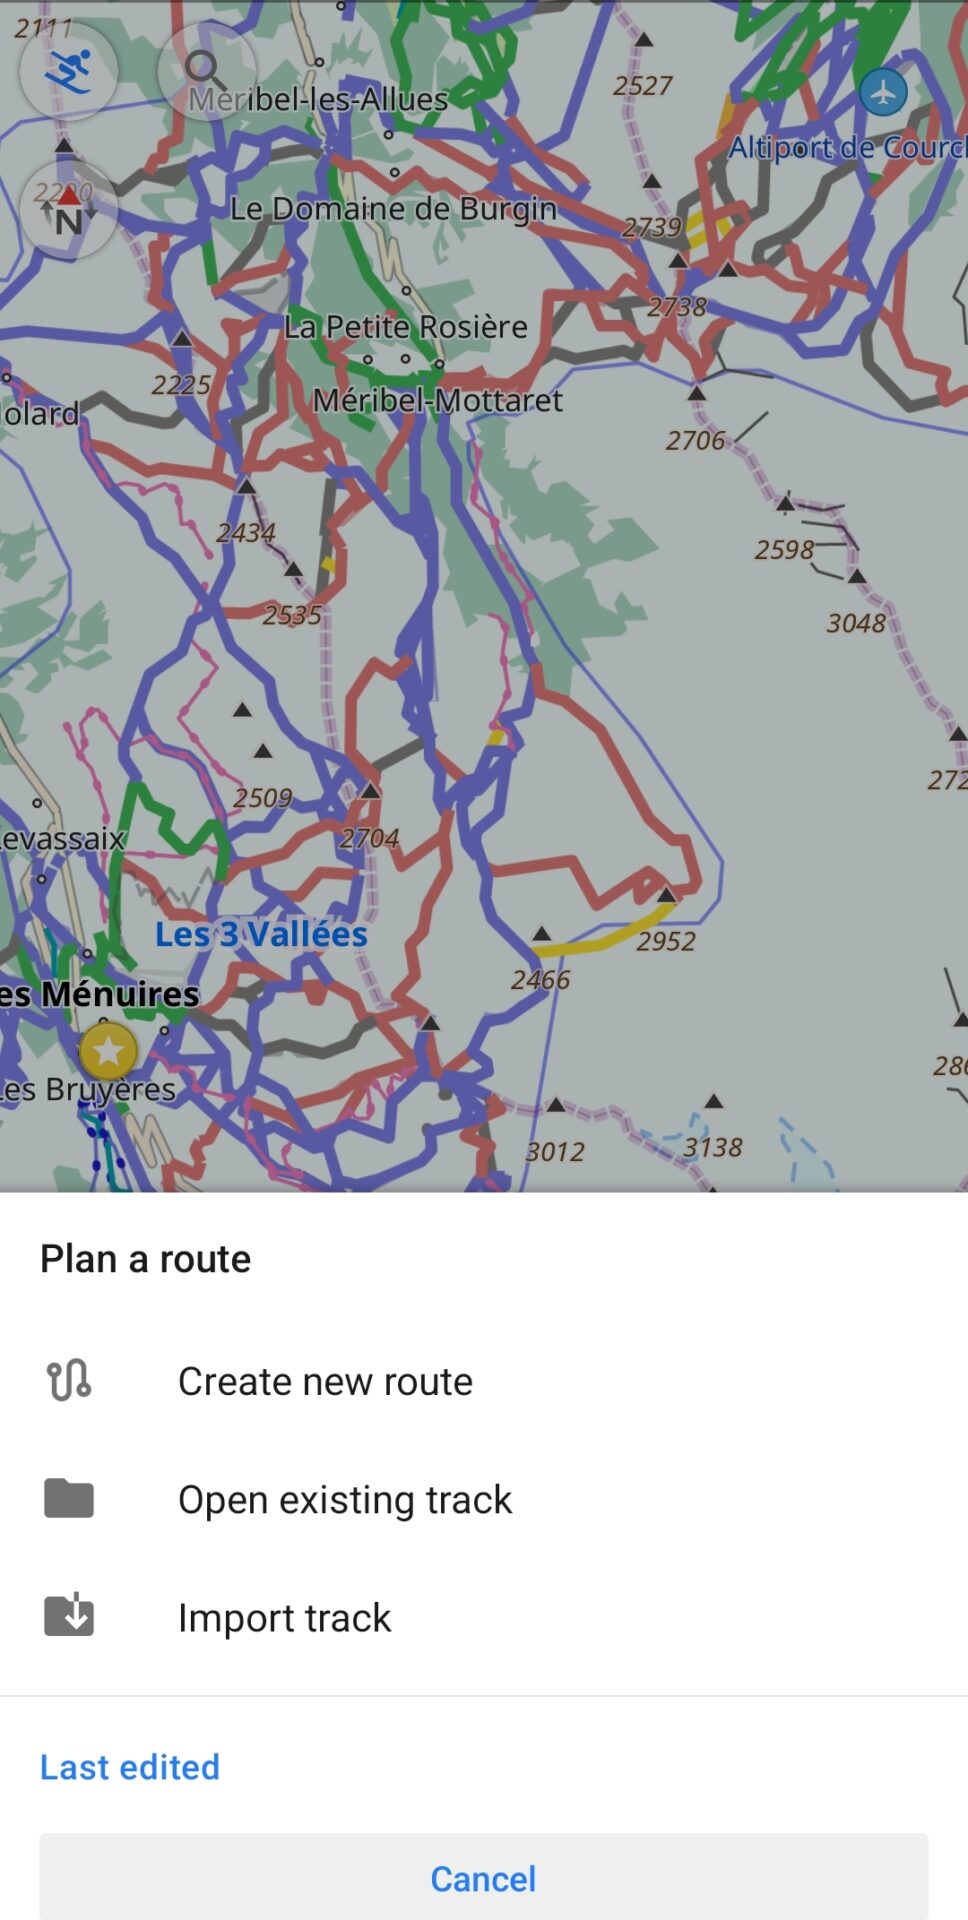
You can create a route by selecting Plan a Route from the application’s main menu. You can also open an existing track, import a track created in another application, or start a new route from scratch.
Create a new route by selecting the option Create new route.

To start creating a path, first select the starting point. Use your finger to tap the desired location on the screen. You can ignore the cross in the center of the screen, as it has no function. To continue the route, move the map in the desired direction and tap on the location where you want to place the next point.
The lower part of the application provides an overview of the track details, including its length, elevation, slope, marked points, and graph.
After planning the ski route, you need to click on Done.
How to Save and Manage Your Ski Track
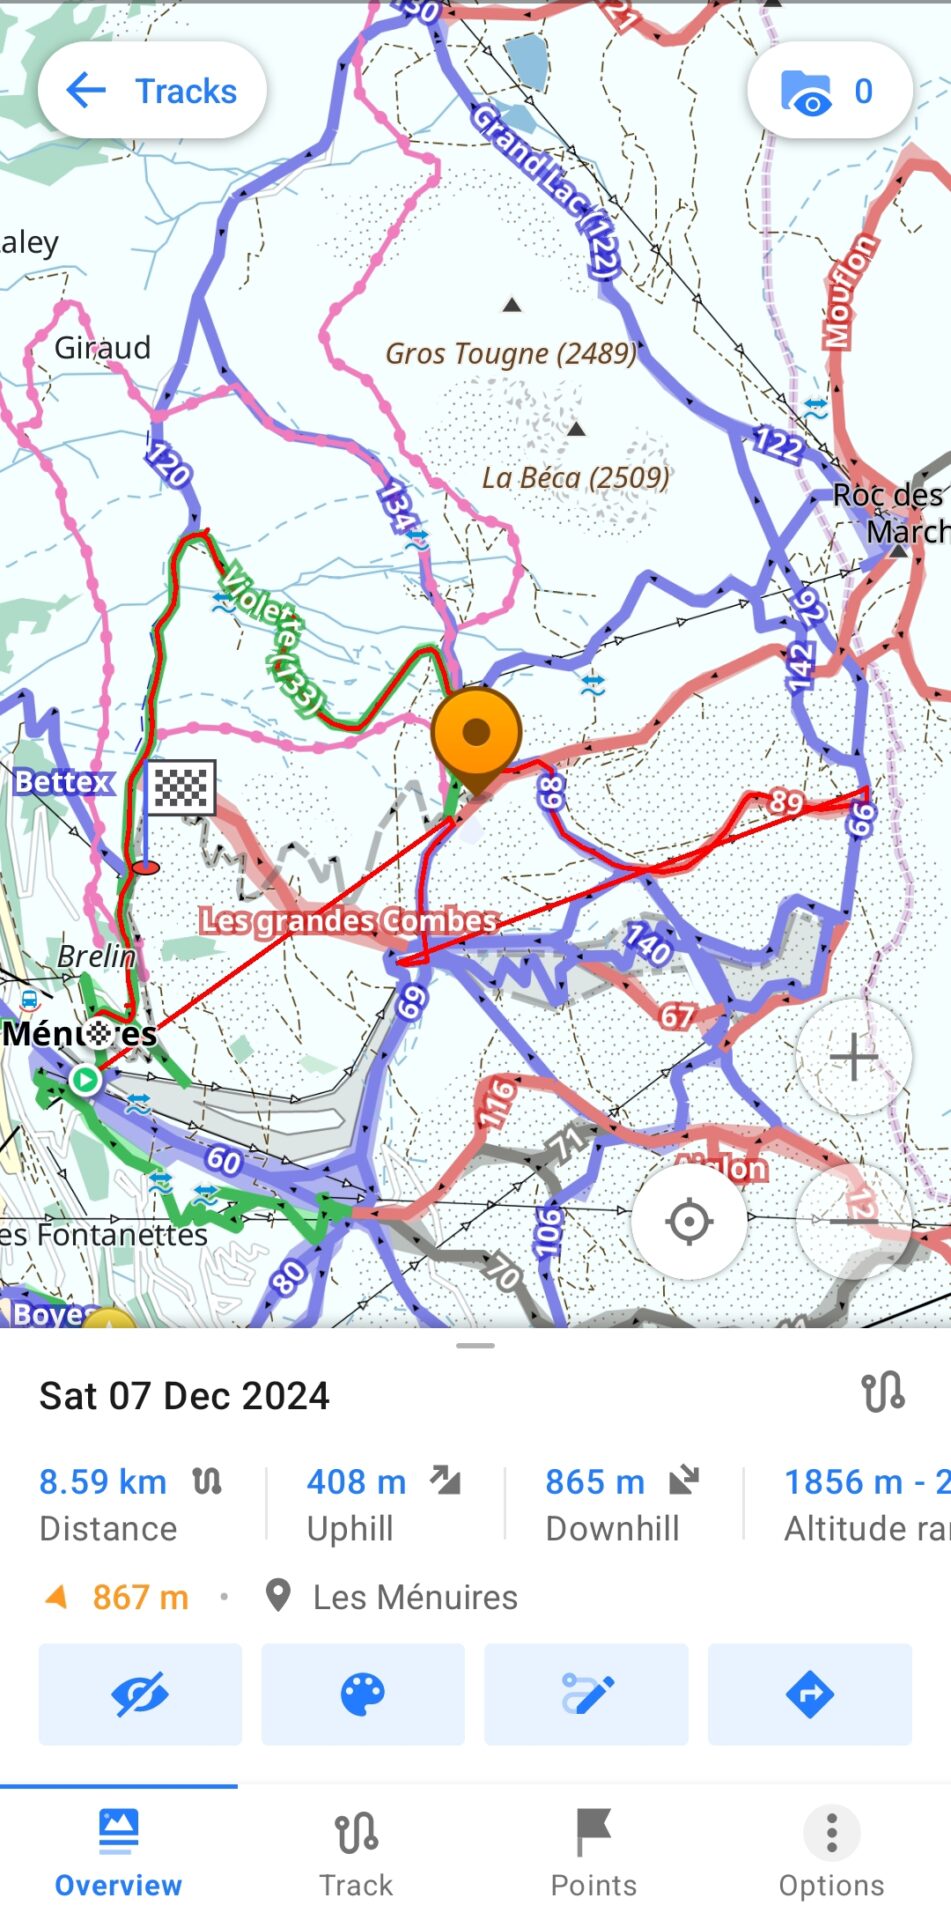
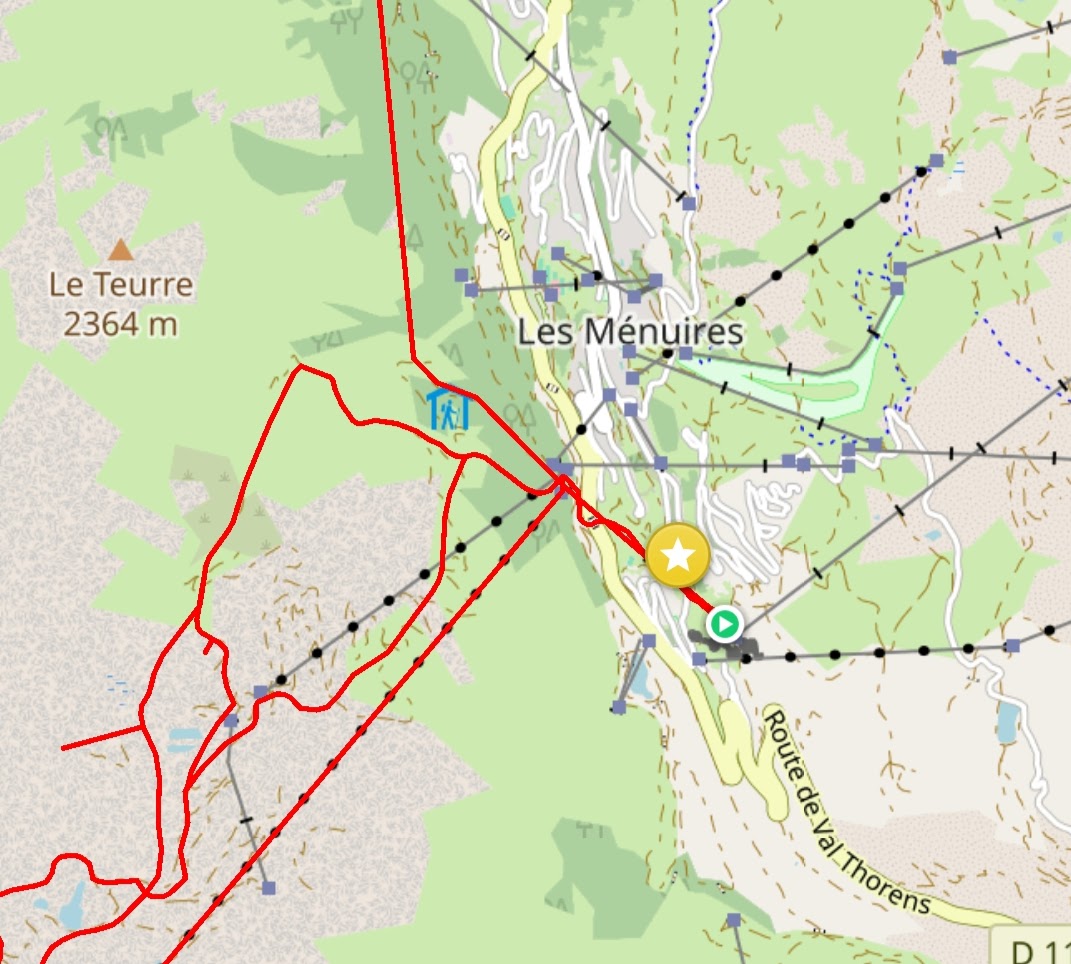
The route track is saved in the My Places option in the main menu (three lines in the lower left corner). By clicking on a specific track, you can display a specific map. You will get all the details about length, elevation, and slope. In this case, the planned ski track is a strong red color. The orange marking for the location represents the original marking of the ski resort’s location.
Clicking Options will display additional settings for modifying and sharing the track.
How to Share a Track from OsmAnd
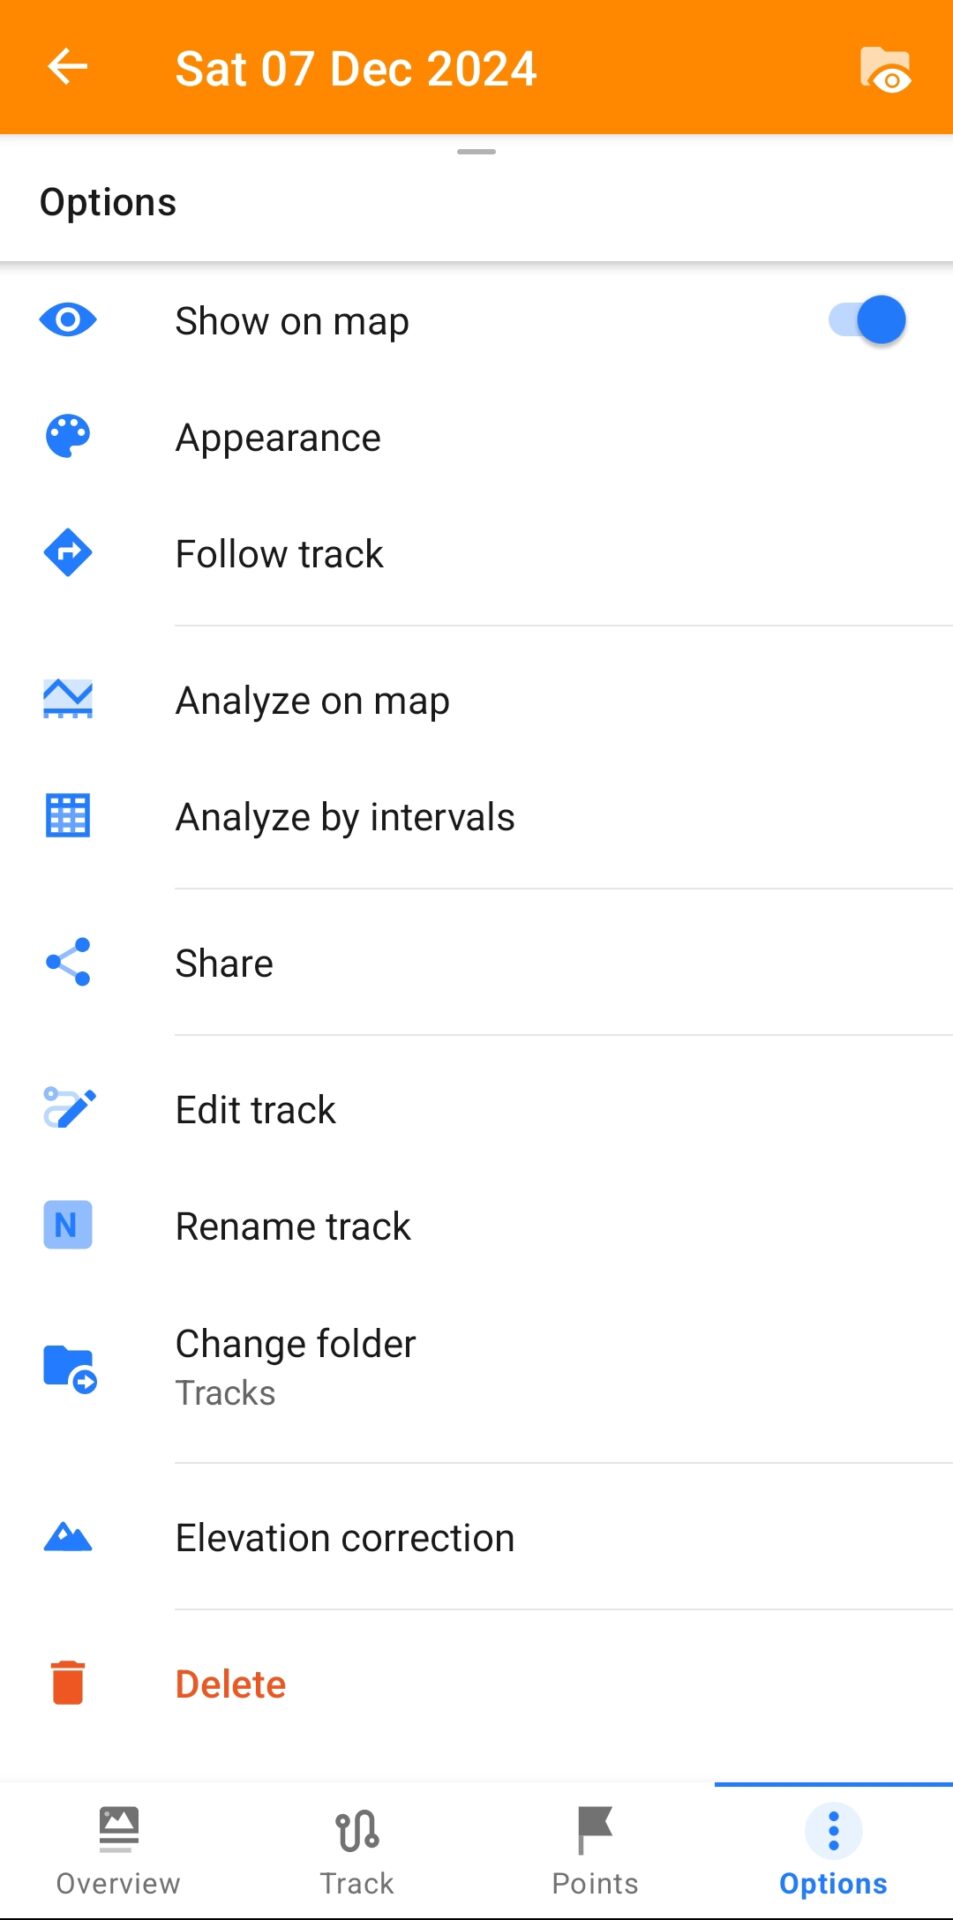
Clicking Options lets you activate and follow the track, modify it, move it to another folder, or adjust its elevation. The most important option is Share, which allows you to share the track so it can be used in another application.
This is especially important for some Garmin watch users, who can activate and follow tracks directly from their watch.
With the option Share you can share the track via WhatsApp, Viber, Telegram, or any navigation application that enables direct opening of the track. After that step, you can use the track file to open it in any navigation application or Garmin.
How to Import an OsmAnd Track into Garmin
To open the track file in Garmin applications, first share it via WhatsApp. Then, tap the track file in WhatsApp, and you will be given the option to open it in the Garmin application.

The next step is to select the course type. In this case, choose Other, which will also display all the information about the route.
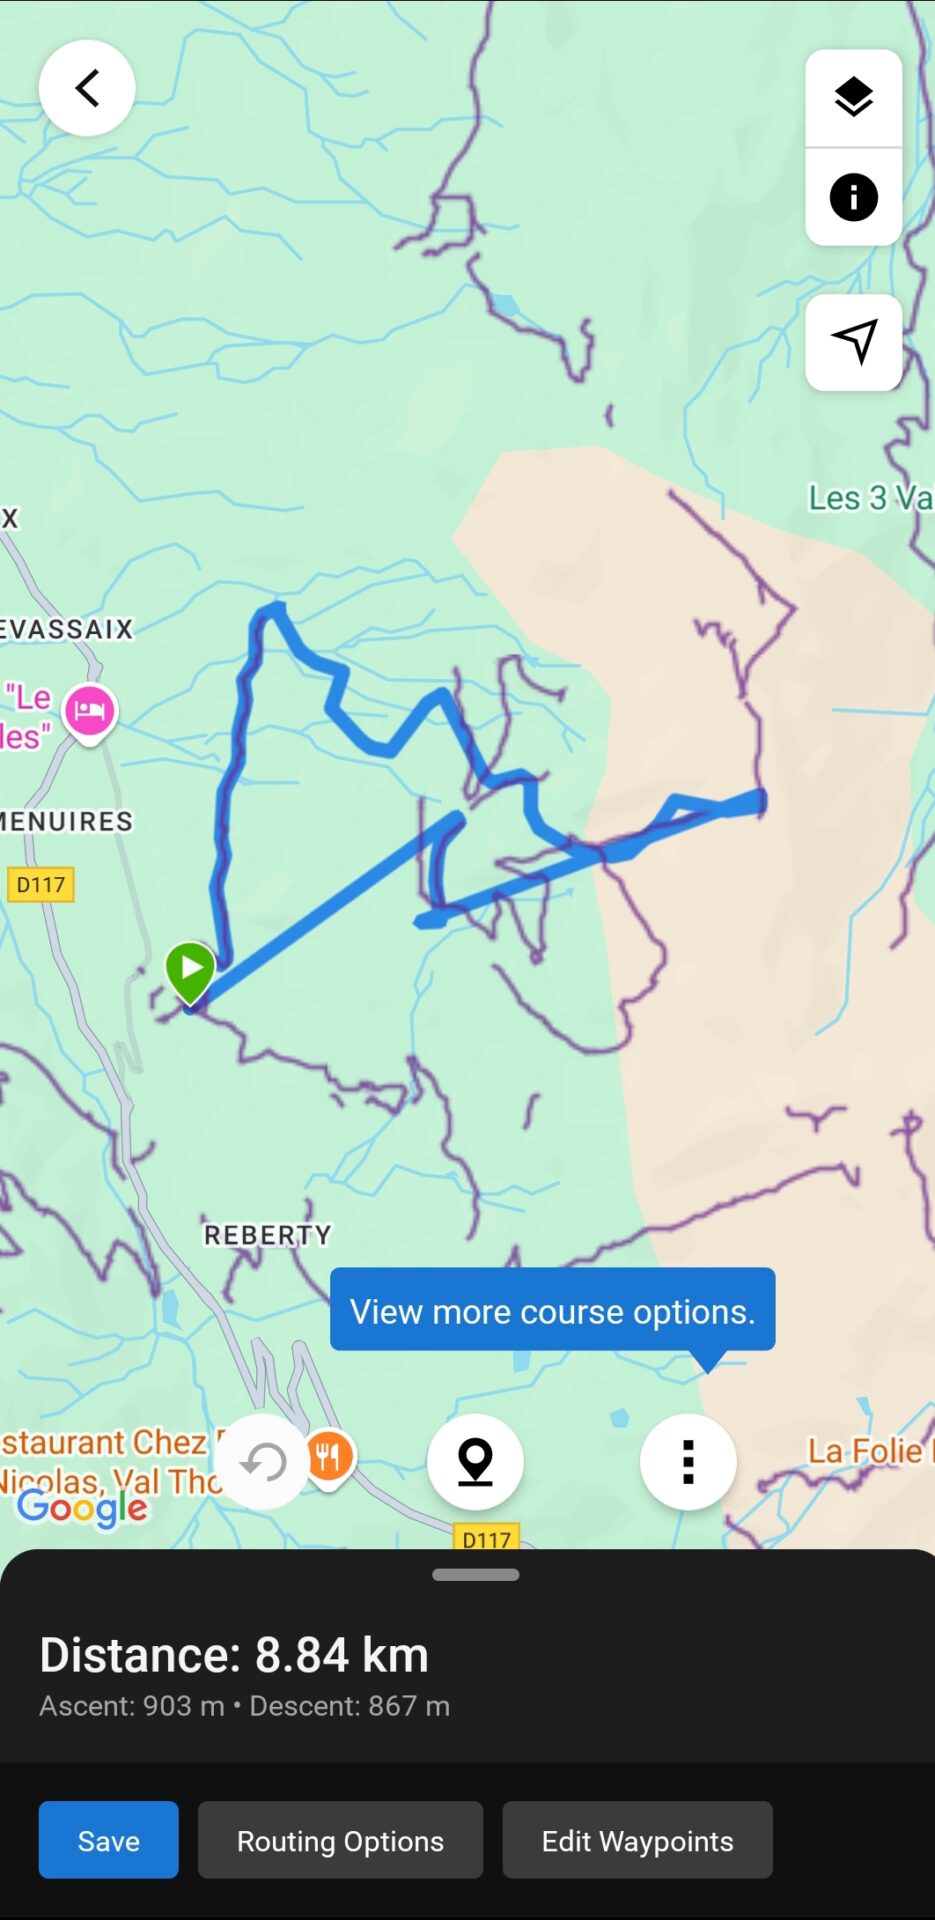
After clicking Save, enter the track’s name and specify whether it will be available publicly (Public) or only to you (Private).
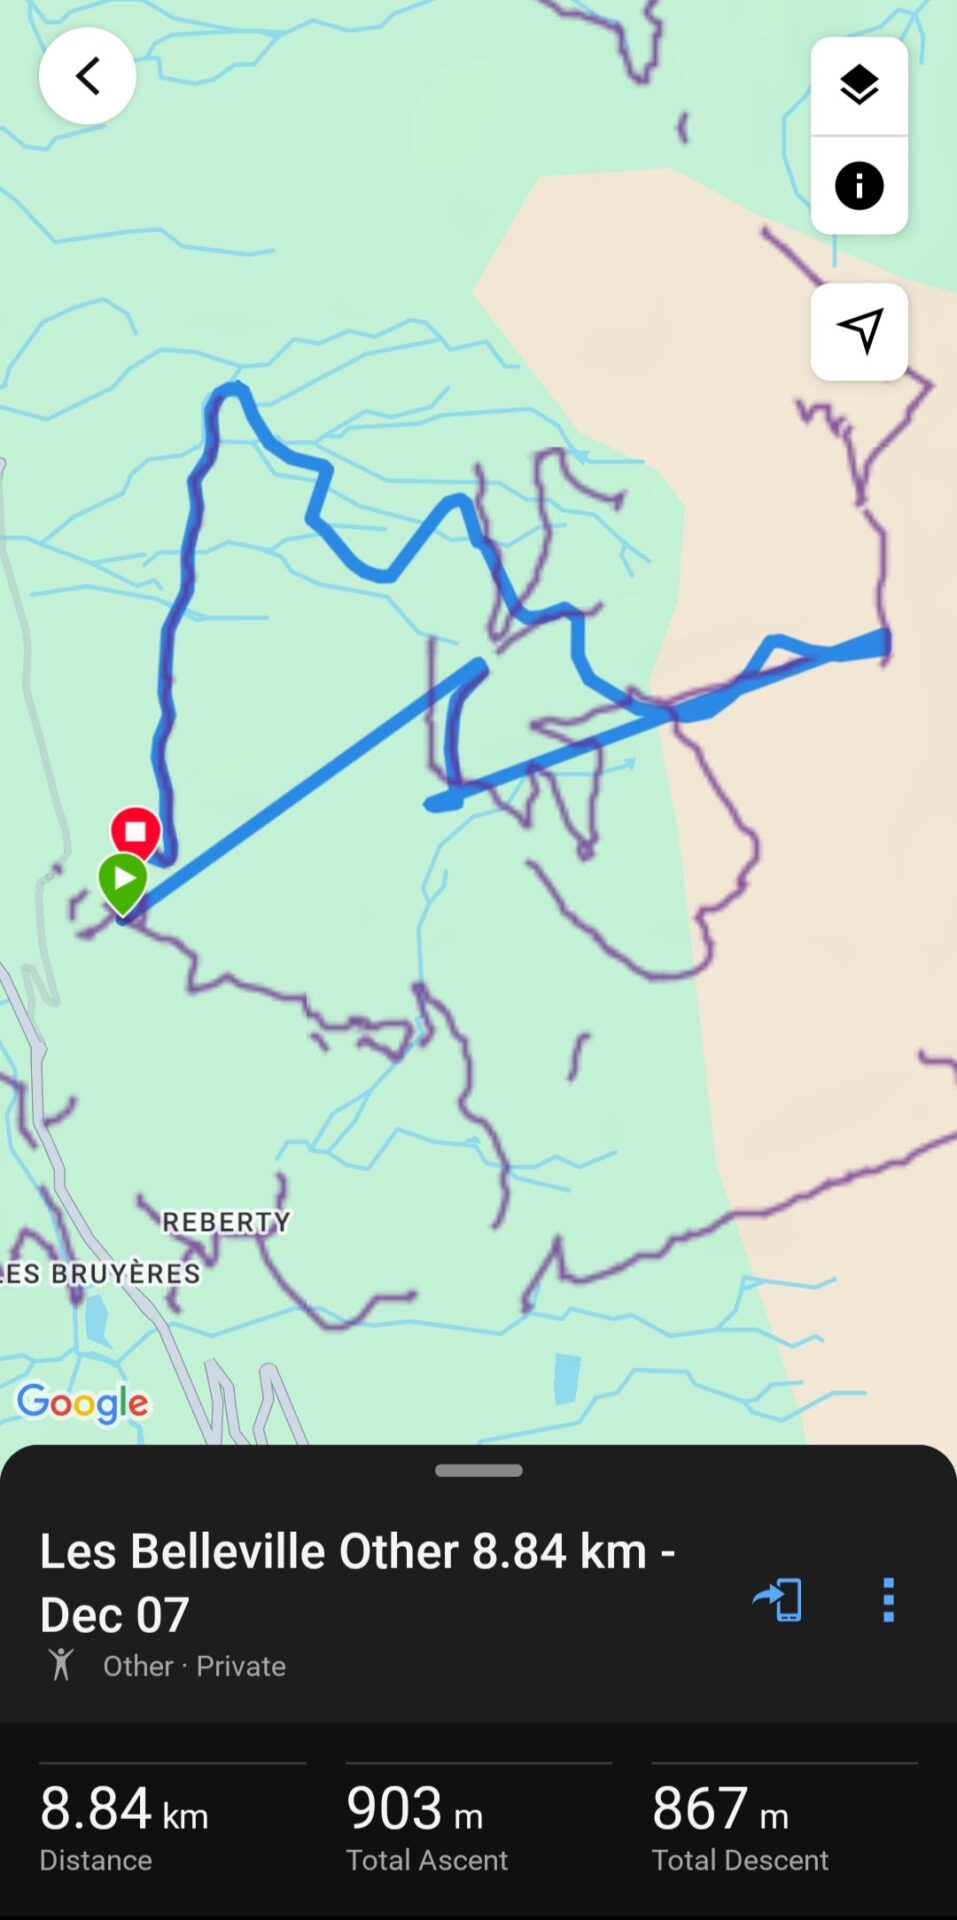
You can send the track to the Garmin watch by clicking on the icon with a phone and an arrow. You will receive a notification that the track has been sent.
The track can be used after successfully synchronizing the watch and the application.
Final Thoughts: Using OsmAnd with Garmin for Ski Trips
Using OsmAnd in combination with Garmin devices can significantly enhance your ski trips. By sharing these routes with your Garmin watch or app, you can follow your planned paths directly on the slopes, ensuring safety and convenience.
Whether you are exploring the French Alps, local ski centers, or any other winter destination, this integration makes route planning straightforward and gives you real-time guidance while skiing. Remember to always double-check route difficulty and weather conditions before heading out.
With a little practice, using OsmAnd and Garmin together can transform your ski experience, helping you navigate new terrain confidently while making the most of every run.